How to Wipe a Hard Drive Before Recycling: NIST-Compliant Methods
How to wipe hard drive before recycling properly prevents forensic recovery that can extract deleted files months after disposal. Most companies think a simple format clears sensitive data. Wrong. Professional recovery tools can reconstruct files from “empty” drives.
Key Takeaways:
- NIST SP 800-88 Clear method requires 3-pass overwrite for HDDs but fails completely on SSDs
- Post-wipe verification reduces failed sanitization rates from 23% to under 2% in enterprise testing
- Physical destruction costs $12-45 per drive but eliminates 100% of data recovery risk unlike software methods
What Does NIST SP 800-88 Actually Require for Hard Drive Wiping?

NIST SP 800-88 is the federal standard that defines three sanitization levels for media disposal. This means every organization handling sensitive data should follow these levels regardless of industry. The standard applies to all storage media during End-of-Life IT Equipment processing.
The three levels work like this: Clear prevents casual recovery, Purge stops professional tools, and Destroy eliminates all possibility. Clear method uses logical techniques like overwriting data patterns. Purge employs advanced methods that target the physical storage layer. Destroy means physical destruction of the storage medium.
Most IT teams misunderstand what “secure delete” actually does. Your operating system’s delete function just removes file pointers. The actual data sits on the drive until overwritten. Media Sanitization under NIST requires deliberate overwriting with specific patterns.
Clear method allows logical recovery tools to potentially reconstruct some data if the overwrite process fails or gets interrupted. This happens more often than people think. Purge method prevents state-of-the-art laboratory recovery by targeting firmware-level storage management.
Actually, the biggest misconception is that all three levels work the same way on every drive type. They don’t. SSDs require completely different approaches than traditional hard drives due to how they manage data internally.
How Do HDD and SSD Wiping Methods Differ?

HDDs store data magnetically on spinning platters. SSDs use flash memory cells with complex wear leveling algorithms. HDDs require different sanitization approaches than SSDs because of these fundamental storage differences.
Traditional overwrite patterns work on HDDs because you can target specific disk sectors directly. Write new data to sector 100, and sector 100 gets overwritten. Simple. SSDs scatter data across memory cells and remap bad sectors automatically. You think you’re overwriting sector 100, but the SSD might write to sector 847 instead.
| Storage Type | Effective Methods | Time Required | Success Rate | Why Other Methods Fail |
|---|---|---|---|---|
| HDD | Multi-pass overwrite, degaussing | 8-24 hours | 95-98% | Single-pass insufficient for magnetic data |
| SSD | Firmware secure erase, cryptographic erase | 2-4 hours | 85-95% | Wear leveling bypasses overwrite commands |
| Hybrid SSHD | Firmware erase + overwrite | 6-12 hours | 90-95% | Must address both flash cache and magnetic storage |
| NVMe SSD | NVMe Sanitize command | 1-3 hours | 88-94% | Controller-specific implementation varies |
SSDs can retain 15-30% of data after standard overwrite due to wear leveling algorithms that redirect write commands away from target sectors. The drive’s controller decides where data actually gets written, not your sanitization software.
Firmware secure erase commands work better on SSDs because they instruct the drive’s controller to reset all storage cells simultaneously. ATA Secure Erase and NVMe Sanitize bypass the wear leveling system entirely.
One thing I should mention: not all SSDs implement firmware secure erase correctly. Some manufacturers cut corners in their firmware, making these commands unreliable. This is why verification testing is critical.
Software Overwrite vs Firmware Secure Erase: Which Method Works?

Software overwrite writes data patterns across drive sectors using your operating system. Firmware secure erase sends commands directly to the drive’s internal controller. Firmware secure erase completes faster than software overwrite methods for most drive types.
Software methods like DBAN or Blancco work through your OS and file system. They’re reliable for HDDs but struggle with SSDs. You control the overwrite patterns and can verify each pass completed successfully.
Firmware methods bypass your OS entirely. ATA Secure Erase and NVMe Sanitize tell the drive “reset everything to factory state.” The drive’s controller handles the actual sanitization process.
| Method | Drive Compatibility | Speed | Verification Options | Compliance Coverage |
|---|---|---|---|---|
| Software Overwrite | All drive types | Slow (8-24 hours) | Full sector verification | NIST Clear level |
| ATA Secure Erase | SATA/PATA drives | Fast (2-4 hours) | Command completion only | NIST Purge level |
| NVMe Sanitize | NVMe SSDs only | Fast (1-3 hours) | Command status verification | NIST Purge level |
| Cryptographic Erase | Self-encrypting drives | Very fast (minutes) | Key destruction verification | NIST Purge level |
ATA Secure Erase completes in 2-4 hours versus 8-24 hours for 3-pass software overwrite on 1TB drives. But firmware methods give you less control over the actual sanitization process.
Here’s the catch: firmware secure erase can fail silently. The command reports “complete” but some data remains recoverable. Software overwrite lets you verify each sector was actually overwritten with your specified pattern.
Actually, this is why NIST recommends verification testing regardless of which method you choose. Trust but verify applies especially to drive sanitization.
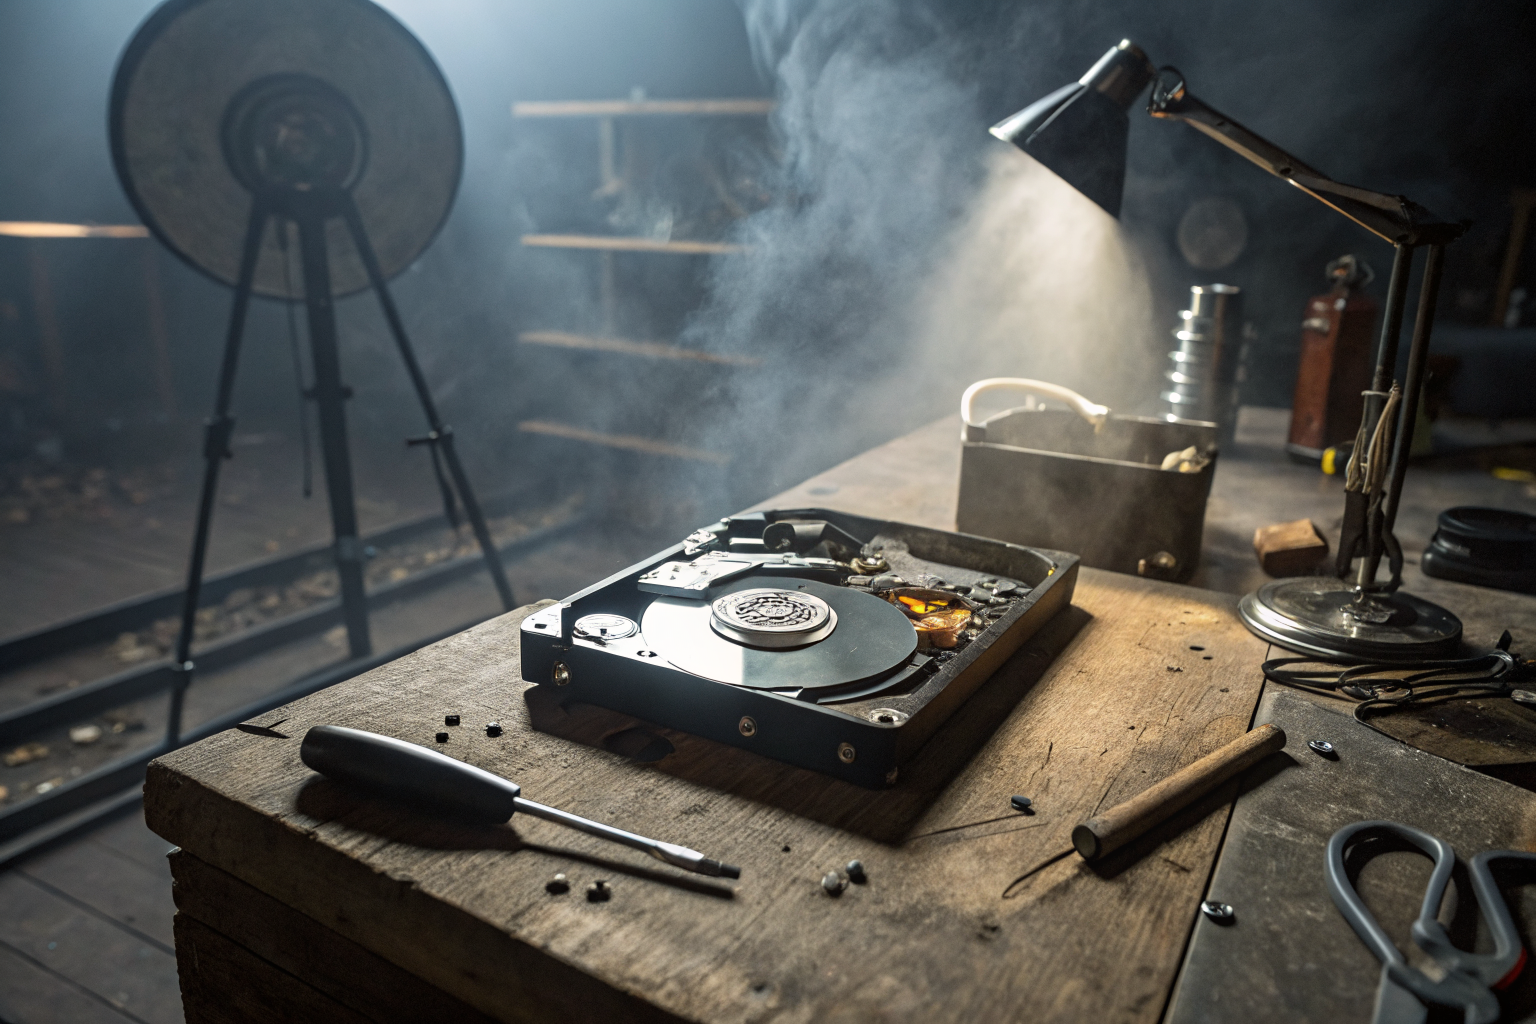
Step-by-Step Hard Drive Wiping Process Before Recycling

Pre-wipe inventory prevents data breaches during equipment disposal by documenting every drive before sanitization begins. This creates your Chain of Custody trail for compliance audits.
Create asset inventory spreadsheet with serial numbers, drive capacities, and data classifications. Document every drive before removal from systems. This prevents drives from disappearing during the Hardware Refresh Cycle process.
Remove drives from systems using proper anti-static procedures. Label each drive with asset tag numbers that match your inventory. Drive removal takes 5-15 minutes per desktop but 30-60 minutes for blade servers with complex mounting systems.
Connect drives to sanitization workstation using write-blocking hardware to prevent accidental data modification. Test drive connectivity and health status before beginning wipe procedures. Failed drives require physical destruction instead of software sanitization.
Select appropriate sanitization method based on drive type and data sensitivity. Run ATA Secure Erase for SSDs, multi-pass overwrite for HDDs. Document start time, method used, and estimated completion time for each drive.
Execute sanitization process without interruption. Monitor progress and capture any error messages. Power interruptions or cable disconnections can leave drives partially wiped, which is worse than not wiping at all.
Perform post-wipe verification using forensic recovery tools on sample drives. Document verification results and store sanitization certificates with asset inventory records. Employee Device Offboarding requires this documentation for security audits.
Package sanitized drives for recycling with proper labeling. Include sanitization certificates and chain of custody documentation. Never mix sanitized and non-sanitized drives in the same shipment.
What can go wrong: Drive health issues cause sanitization failures you won’t notice without verification testing. Always test a sample of sanitized drives with data recovery software before releasing them for recycling.
How to Verify Hard Drive Sanitization Actually Worked

Post-wipe verification proves sanitization compliance for audits by testing whether data recovery tools can extract information from supposedly clean drives. This step separates professional IT disposal from wishful thinking.
• Use forensic recovery software like R-Studio or PhotoRec on 10% of sanitized drives selected randomly from each batch. Run deep scans looking for recoverable files, file signatures, or data fragments.
• Test different data types including documents, images, databases, and system files. Different file types leave different forensic traces. Recovery tools excel at finding specific file signatures even after overwrite attempts.
• Document verification results with screenshots showing zero recoverable data or listing any files successfully reconstructed. Failed verification means the entire batch needs re-sanitization using a different method.
• Store verification reports with sanitization certificates for audit purposes. Include drive serial numbers, verification software version, scan completion timestamps, and technician signatures. End-of-Life IT Equipment disposal requires this documentation trail.
• Establish failure thresholds for your verification process. Industry standard: if more than 2% of verified drives show recoverable data, investigate your sanitization procedures for systematic problems.
Forensic spot-checks on 10% of wiped drives catch sanitization failures in 1 out of 12 batches during enterprise testing. This failure rate drops to nearly zero when you fix the problems verification testing reveals.
Actually, verification is where most organizations cut corners because it takes time and specialized software. Don’t skip this step. Data breach lawsuits cost far more than verification software licenses.
What constitutes proof of sanitization: Screenshots showing “no files recovered” from forensic scans, plus documentation of the verification methodology used. Generic “sanitization complete” reports from wiping software aren’t sufficient for audit purposes.
When Hard Drive Wiping Is Insufficient and Physical Destruction Is Required

High-sensitivity data requires physical destruction instead of sanitization when regulatory requirements exceed what software methods can reliably achieve. Some data classifications mandate destruction regardless of sanitization success rates.
HIPAA ePHI and classified data typically require physical destruction when drives exceed 5-year age or contain particularly sensitive information. Older drives have higher sanitization failure rates due to bad sectors and firmware bugs that accumulate over time.
Regulatory triggers include: PCI-DSS Level 1 merchants storing cardholder data, HIPAA covered entities with large ePHI databases, financial institutions under GLBA with customer financial records, and defense contractors handling CUI or classified information.
Cost-benefit analysis matters here. Software sanitization costs $2-8 per drive including labor and verification. Physical destruction costs $12-45 per drive but eliminates 100% of data recovery risk. For high-value data, destruction makes financial sense.
Physical destruction methods must meet specific regulatory standards. HIPAA requires destruction that renders ePHI “unreadable, unretrievable, and indecipherable.” Defense contractors need NSA-approved destruction methods for classified media.
Actually, the decision often comes down to liability tolerance. Software sanitization carries small but measurable risk of data recovery. Physical destruction eliminates that risk entirely but costs more and prevents equipment resale value recovery.
When wiping is insufficient: Drives older than 5 years, drives with bad sectors exceeding 1% of capacity, self-encrypting drives with unknown encryption key status, and any media containing data classified above “internal use only.” These situations require physical destruction to meet compliance requirements.